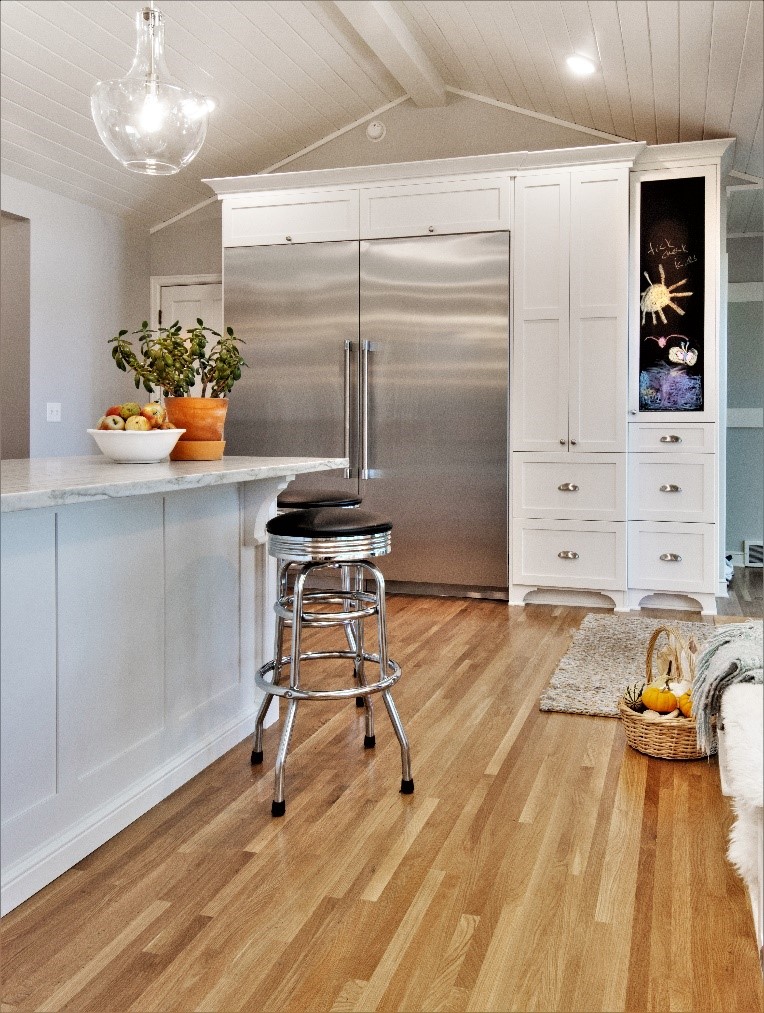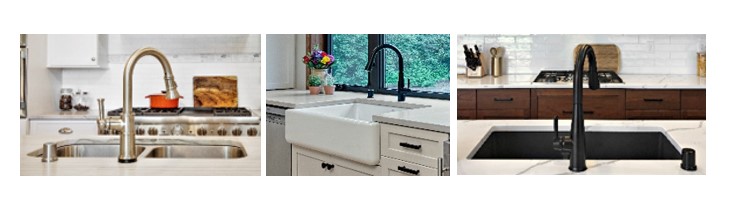
Remodeling your kitchen? There are a lot of choices to be made – countertops, cabinets, flooring, hardware, appliances, lighting, etc. The list goes on! You use your kitchen – and the sink – everyday, so it’s important to get the right one for you. Here’s a list of 5 types of sinks – starting with the three we install most often:
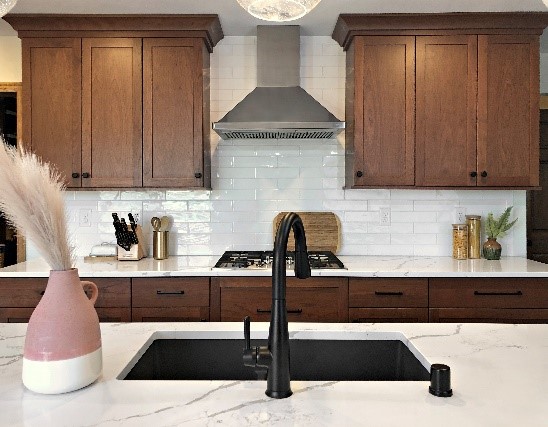
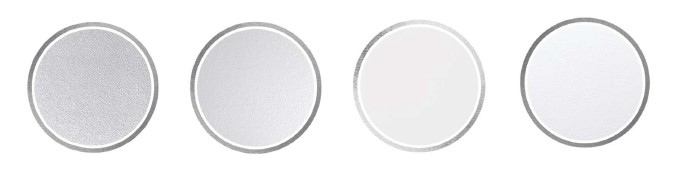
Composite
- Made from an engineered material made up of either granite or quartz dust and acrylic resin
- A lot of color options allowing you to easily blend your sink with your countertops
- Durable
- Heat resistant
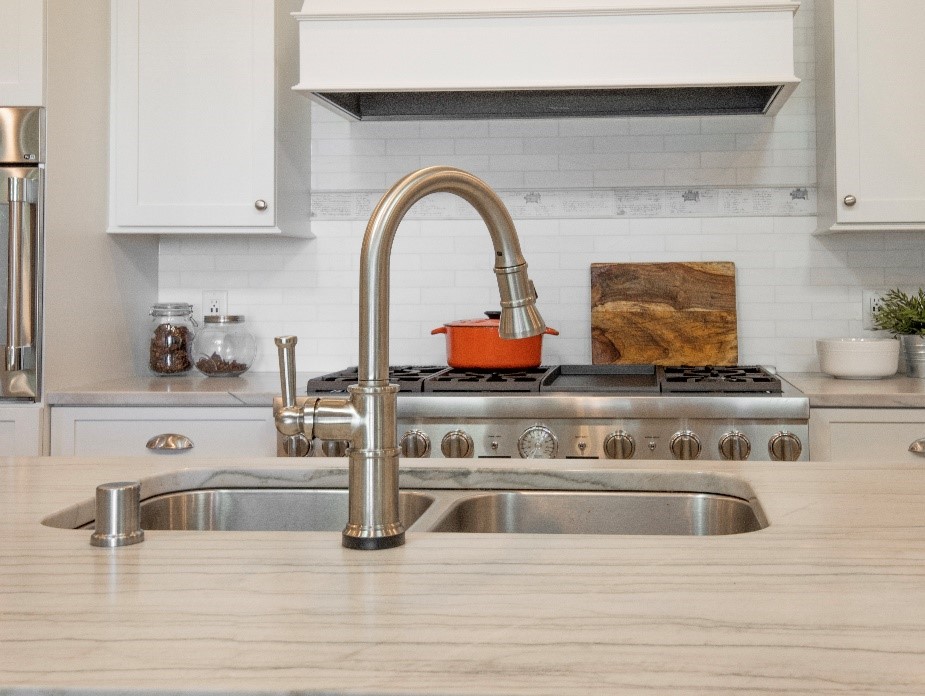
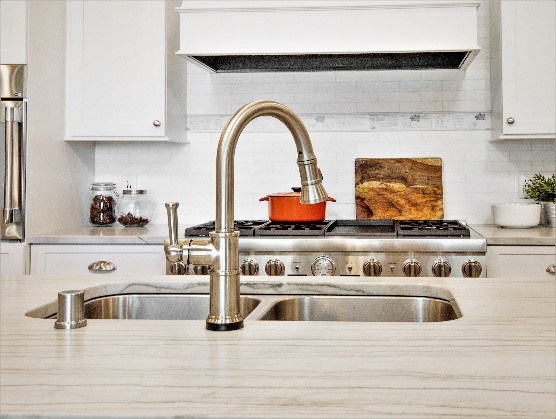
Stainless Steel
- Very common, and for good reason
- Can be affordable
- Durable
- Easy to clean
- Have a bit of “give” to them – if you are worried about dropping/breaking dishes in the sink then stainless could be a good choice
- Can show water spots more easily
- Only come in one color so if you want a sink that really blends in with your countertops, this may not be the sink for you.

Cast Iron
- Made from cast iron with a layer porcelain enamel on top
- Enameled hard top finish but can be repaired
- Very heavy – which is not problem if we are installing for you!
- These sinks do take a bit more effort to maintain as they can be prone to staining, but if you rinse it out after each use you shouldn’t have any problems and your investment will last for years!
Copper
- A beautiful way to bring character into your kitchen
- They are expensive and require a bit more maintenance
- Come in a variety of finishes/configurations
- Have a “living finish” – they develop a patina over time (although this can be stripped off and the sink’s finish can be sealed).
Fireclay
- Ceramic, molded sinks
- Fired at a very high heat to make them extremely durable
At Becker Building & Remodeling, our design-build process walks you through all these steps during your project design to help you be an educated decision-maker when it comes to the selections for your remodel. If you’re interested in a remodel project, start the conversation with us by filling out our online form